Start Making Your Own Fonts
Start Making Your Own Fonts is a comprehensive guide for graphic designers and creatives looking to dive into the world of typography. Whether you’re a beginner or experienced designer, this guide walks you through the process of designing custom fonts using both free and professional tools. From understanding typography basics to refining and distributing your fonts, it covers everything you need to create unique typefaces that enhance your design projects and even generate income. Explore hands-on tips and recommended tools to turn your font ideas into reality.
Here is step by step guide to create your own fonts.
Understanding Typography Basics
Before diving into font creation, it’s essential to have a solid grasp of typography. Typography is the art of arranging type to make written language legible, readable, and visually appealing. If you’re new to typography or need a refresher, check out the Wikipedia page on Typography for a deep dive into its history and principles.
Choose Your Font Design Tool
Now that you have an understanding of typography, it’s time to select a tool to create your font. Here are a few options depending on your budget and skill level:
FontStruct (Free)
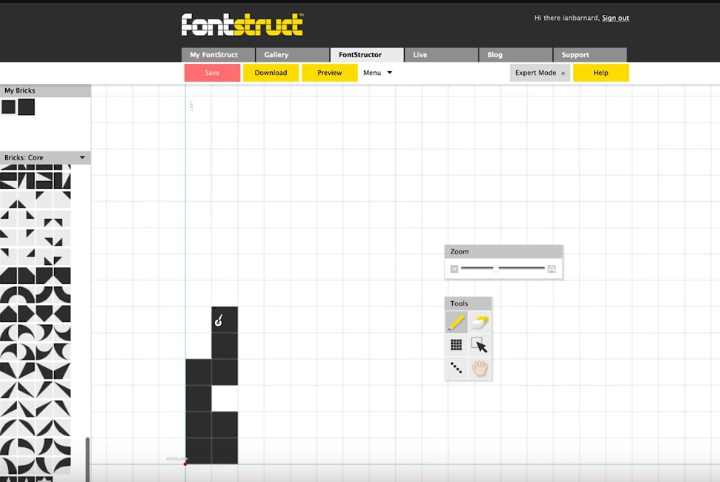
FontStruct is a free, web-based tool that allows you to design fonts using a grid layout. It’s great for beginners because of its simple interface and ease of use. You can design letterforms using shapes (referred to as bricks) and download your font in TrueType format (.ttf) to use across different platforms.
FontStruct is perfect for those looking to experiment with geometric designs or blocky fonts. You can also share your font designs on their platform or export them to use in your own projects.
Recommended For:
- Beginners looking for a free tool to create basic fonts.
Calligraphr (Free/Paid)
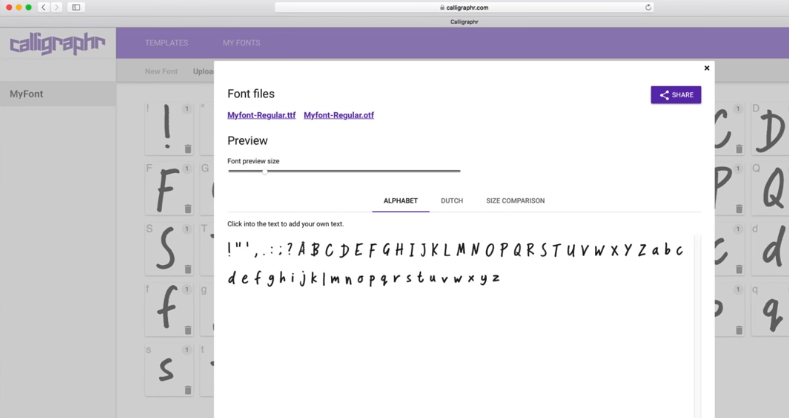
Calligraphr allows you to create fonts based on your handwriting. You print a template, fill it out with each letter and number, and then upload it back to the website. The platform turns your scanned handwriting into a font you can download. It’s a great option for those looking to create a personalized, hand-drawn font.
The free version allows you to create a basic font, while the paid version ($8/month) unlocks more advanced features like character randomization and ligatures.
Recommended For:
- Designers who want to create fonts based on their own handwriting.
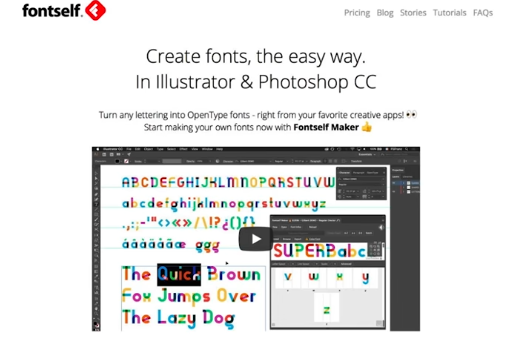
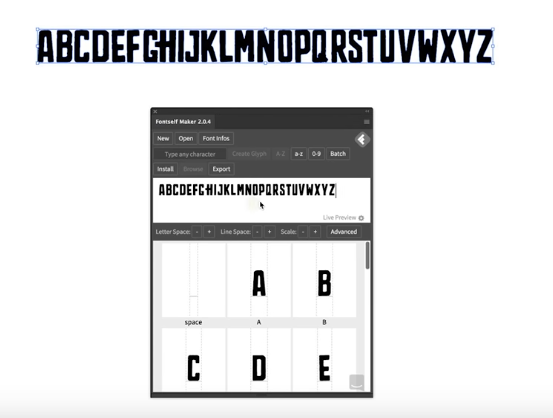
Fontself (Paid)
Fontself is an extension for Adobe Illustrator and Photoshop that allows you to transform your vector illustrations into fonts. Simply drag and drop your letterforms into the Fontself panel, and it will generate a functional font file for you. It’s perfect if you’re already comfortable with Adobe tools.
Fontself supports both .otf (OpenType) and .ttf (TrueType) formats, which makes it versatile for digital or print use. The extension costs around $49, but it’s worth the investment if you’re serious about creating professional-grade fonts.
Recommended For:
- Intermediate to advanced designers already using Adobe software.

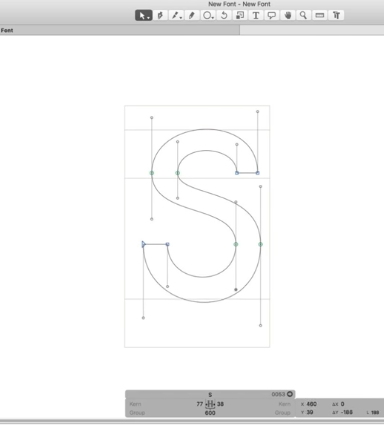
Glyphs App (Paid)
Glyphs is one of the most popular font creation tools among professional type designers. Available for macOS, Glyphs offers a range of features for creating custom fonts, including Bézier tools for creating smooth curves, support for multiple languages, and the ability to export web fonts.
The full version costs around €249, but if you’re just getting started, the mini version (€49) offers a lot of the same features. Glyphs is ideal if you want a comprehensive tool for both simple and complex font projects.
Recommended For:
- Professional designers looking for full-featured font creation software.
Sketching Your Ideas
Once you’ve selected your font creation tool, it’s time to start sketching out your ideas. Whether you use a digital tool like Adobe Illustrator or sketch by hand, it’s important to think about the overall style and tone of your font. Are you creating a serif or sans-serif font? Will it be bold and geometric or light and script-like?
If you prefer traditional sketching, you can always digitize your drawings using a scanner or an iPad. Tools like Adobe Illustrator or Procreate can help you refine your sketches before transferring them into your font creation software.
Create Your Font
This is where the real work begins! Based on your tool of choice, you’ll now start designing each character of your font, including uppercase letters, lowercase letters, numbers, and punctuation marks.
If you’re using Fontself, simply drag and drop your letterforms from Illustrator or Photoshop into the Fontself panel. If you’re using a more advanced tool like Glyphs, you’ll need to carefully adjust Bézier curves, spacing, and kerning to ensure your letters flow naturally together.
Test Your Font
Once you’ve completed the design of your font, it’s time to test it out. Most tools will allow you to preview your font in different sizes and weights, which helps you ensure it looks consistent. You can also export your font as a .ttf or .otf file and install it on your computer for real-world testing.
Test your font by typing out different words and sentences to see how it behaves. Look for any inconsistencies in spacing or letter alignment, and go back to your design tool to make adjustments if necessary.
Refine and Finalize
No font is perfect on the first try. After testing your font, spend some time refining it. This could mean adjusting letter spacing, refining curves, or adding additional characters or ligatures. The more you refine, the more polished your final product will be.
If you’re unsure about how your font looks, consider sharing it on Behance or Dribbble to get feedback from other designers. You can also share it on social media platforms like Instagram or Twitter using relevant hashtags like #FontDesign or #Typography.
Distribute Your Font
Once you’re happy with your font, it’s time to share it with the world. There are a number of ways you can distribute your font:
- Sell it on marketplaces like Creative Market or MyFonts.
- Share it for free on platforms like DaFont, FontSquirrel, or Google Fonts.
- Promote it on social media by sharing your design process on Facebook, Instagram, or LinkedIn.
Conclusion
Creating your own font may seem like a daunting task, but with the right tools and some practice, it can become a valuable skill in your design toolbox. Whether you’re creating a custom font for a client or selling fonts as a side hustle, the possibilities are endless. Plus, there’s no better way to express your unique style than through custom typography.
For more inspiration, check out my portfolio on Behance or follow me on Instagram where I share more design tips and insights into the world of typography.
Good luck with your font creation journey, and remember, the key is to start small, refine your skills, and eventually, you’ll be able to create beautiful, professional fonts. If you found this guide helpful, feel free to share it on social media or leave your thoughts in the comments!